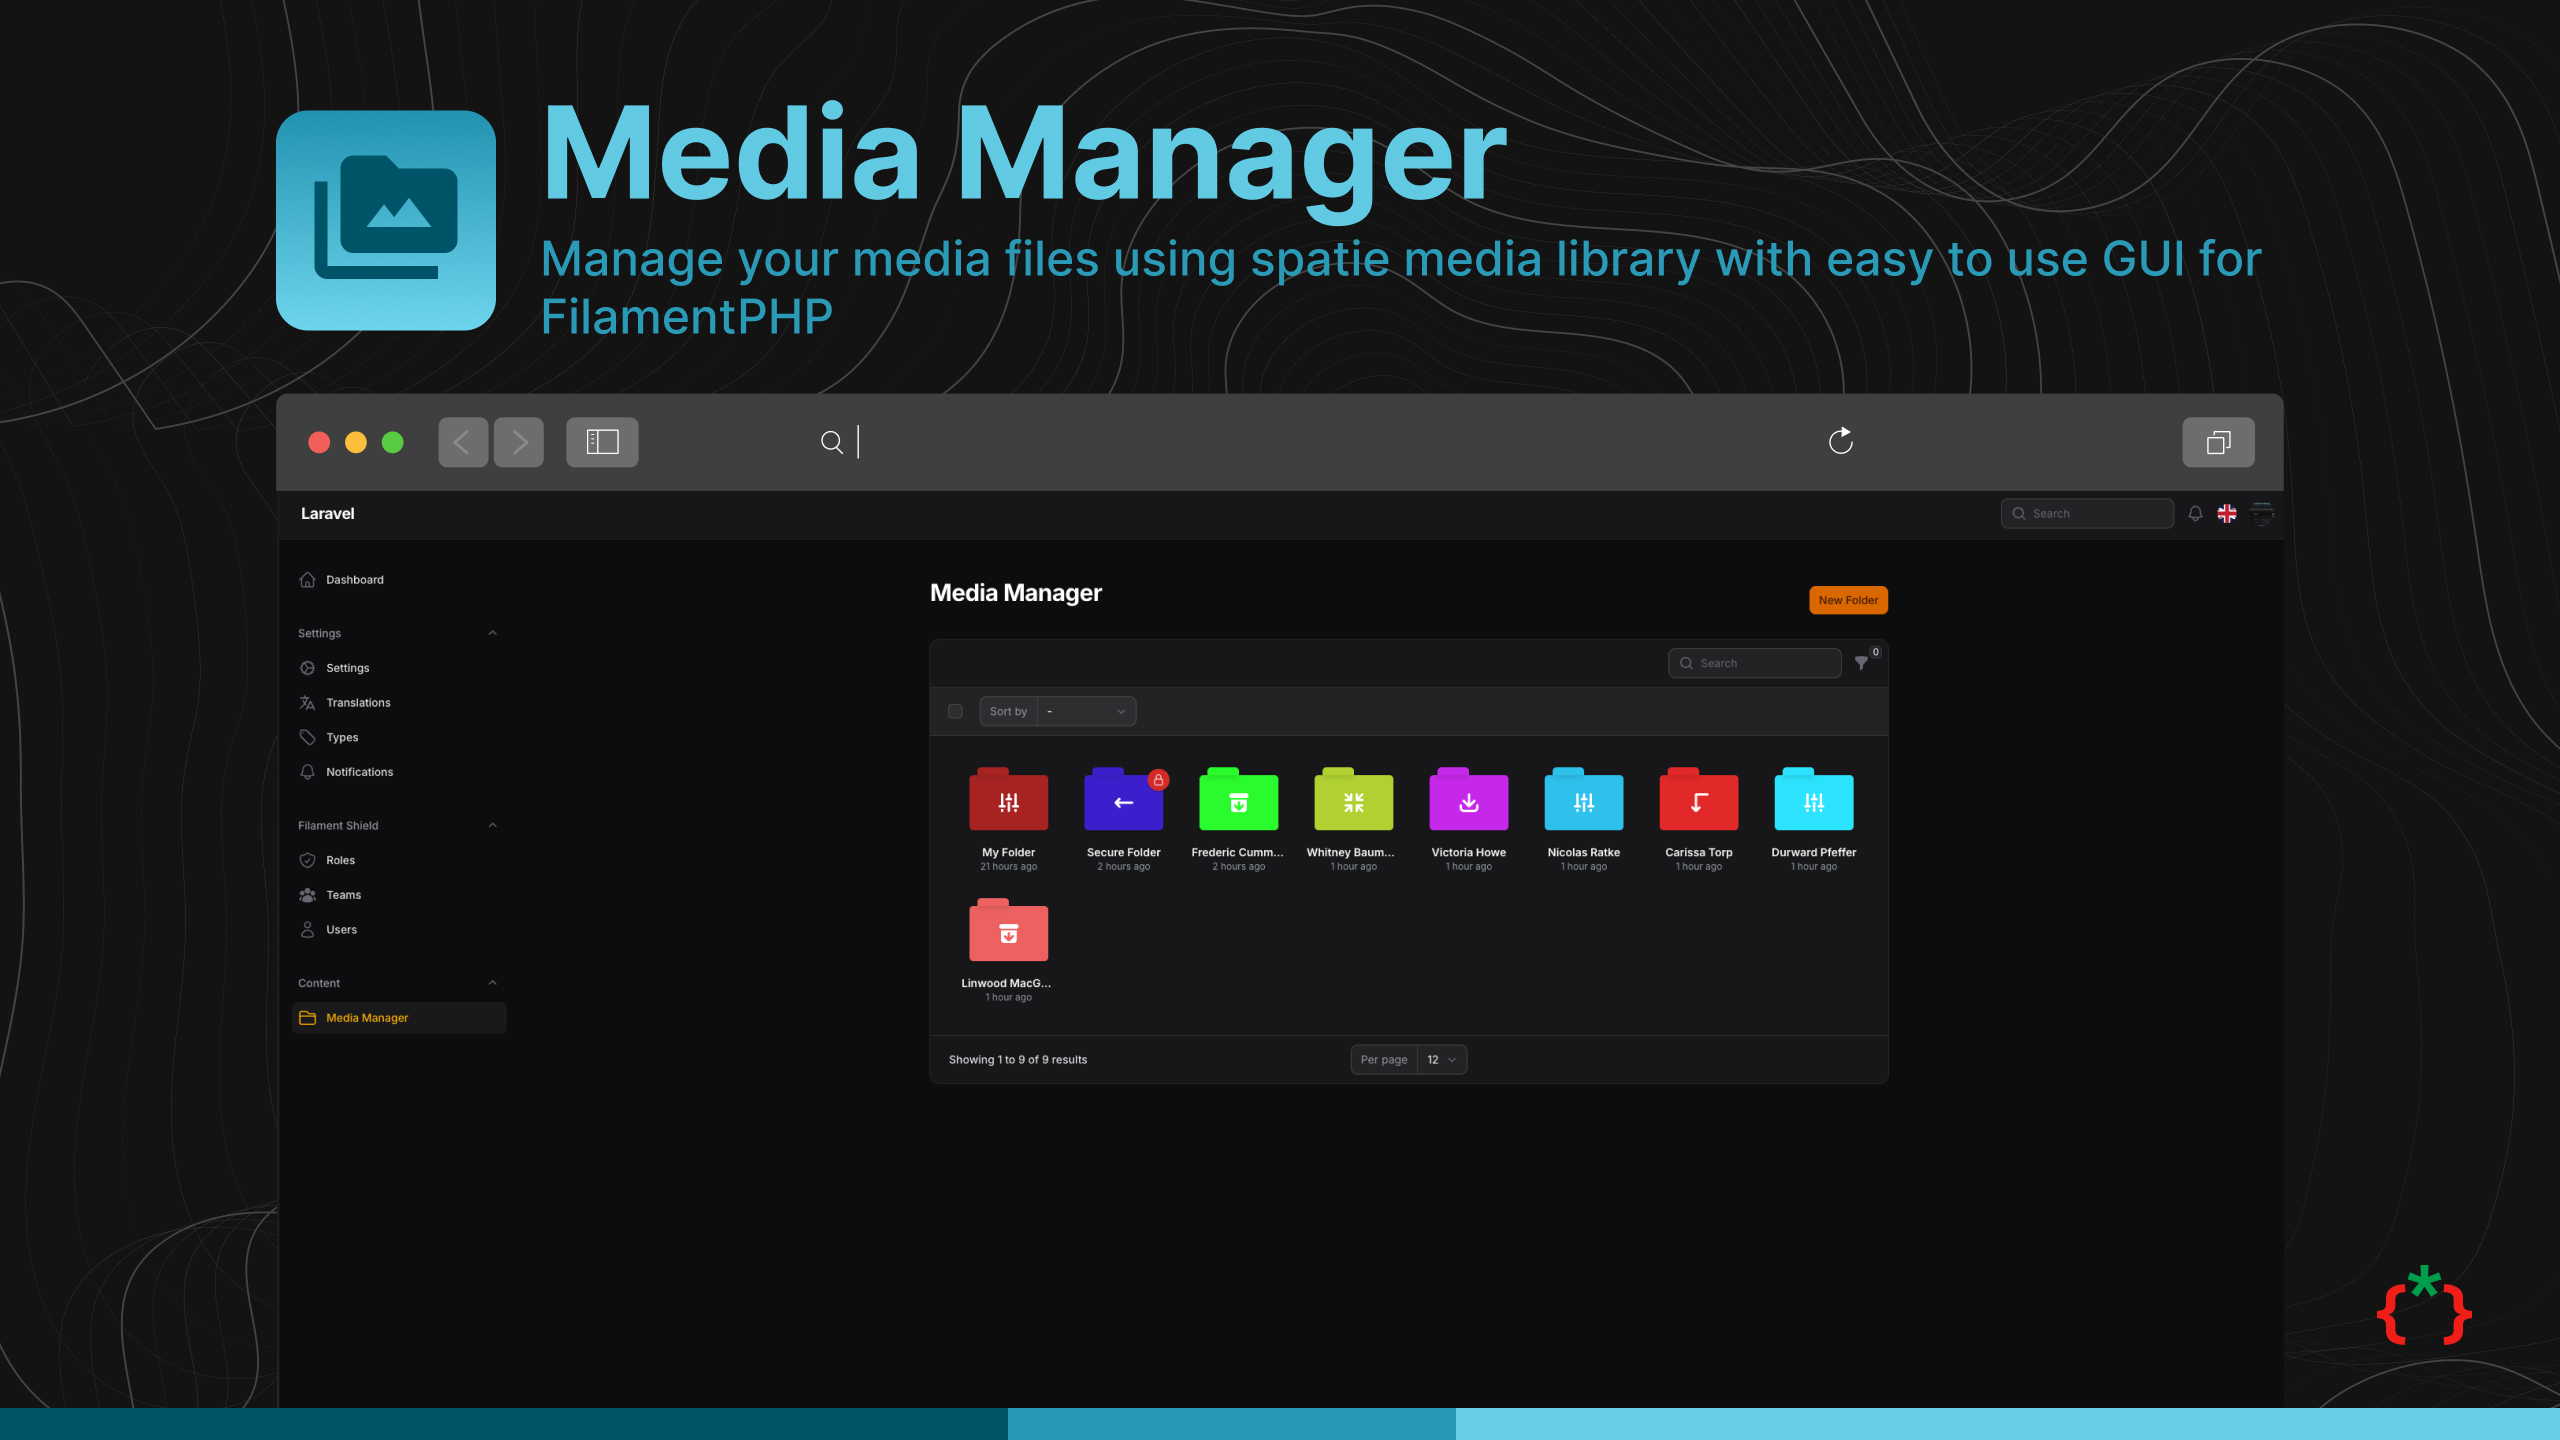
filament-media-manager
Manage your media files using spatie media library with easy to use GUI for FilamentPHP
Documentation
Filament media manager


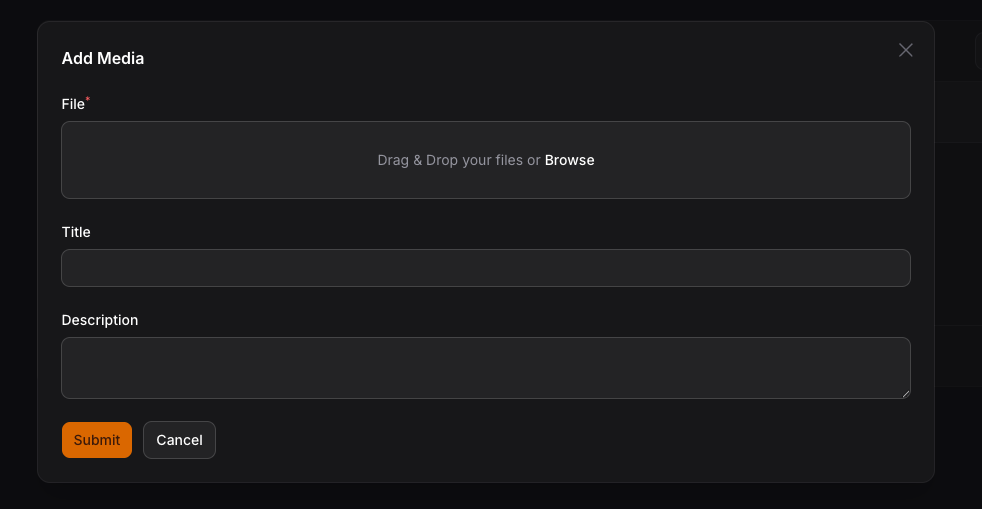
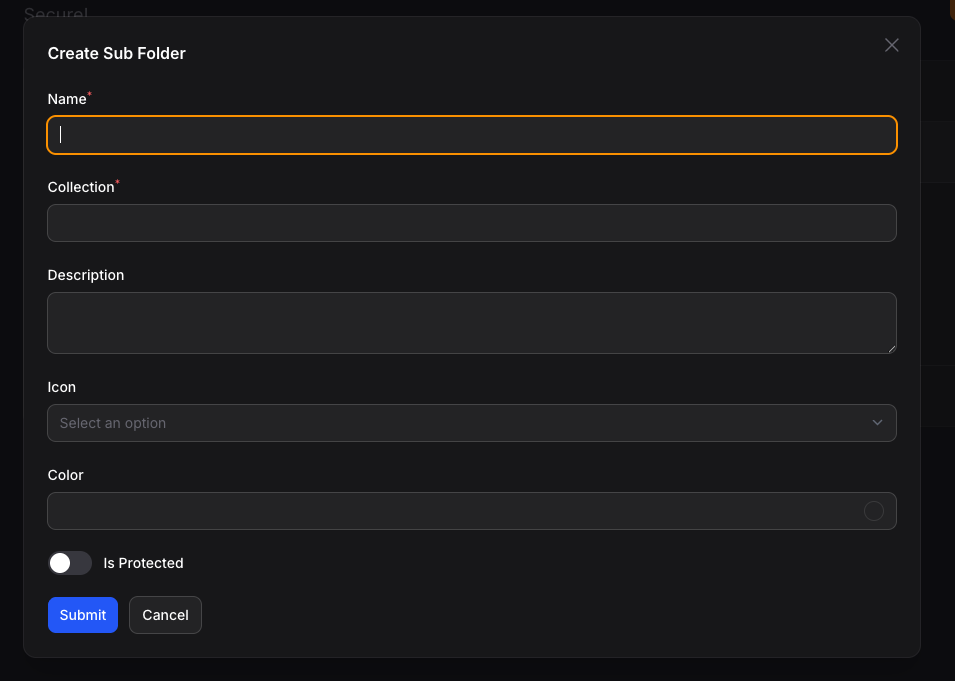
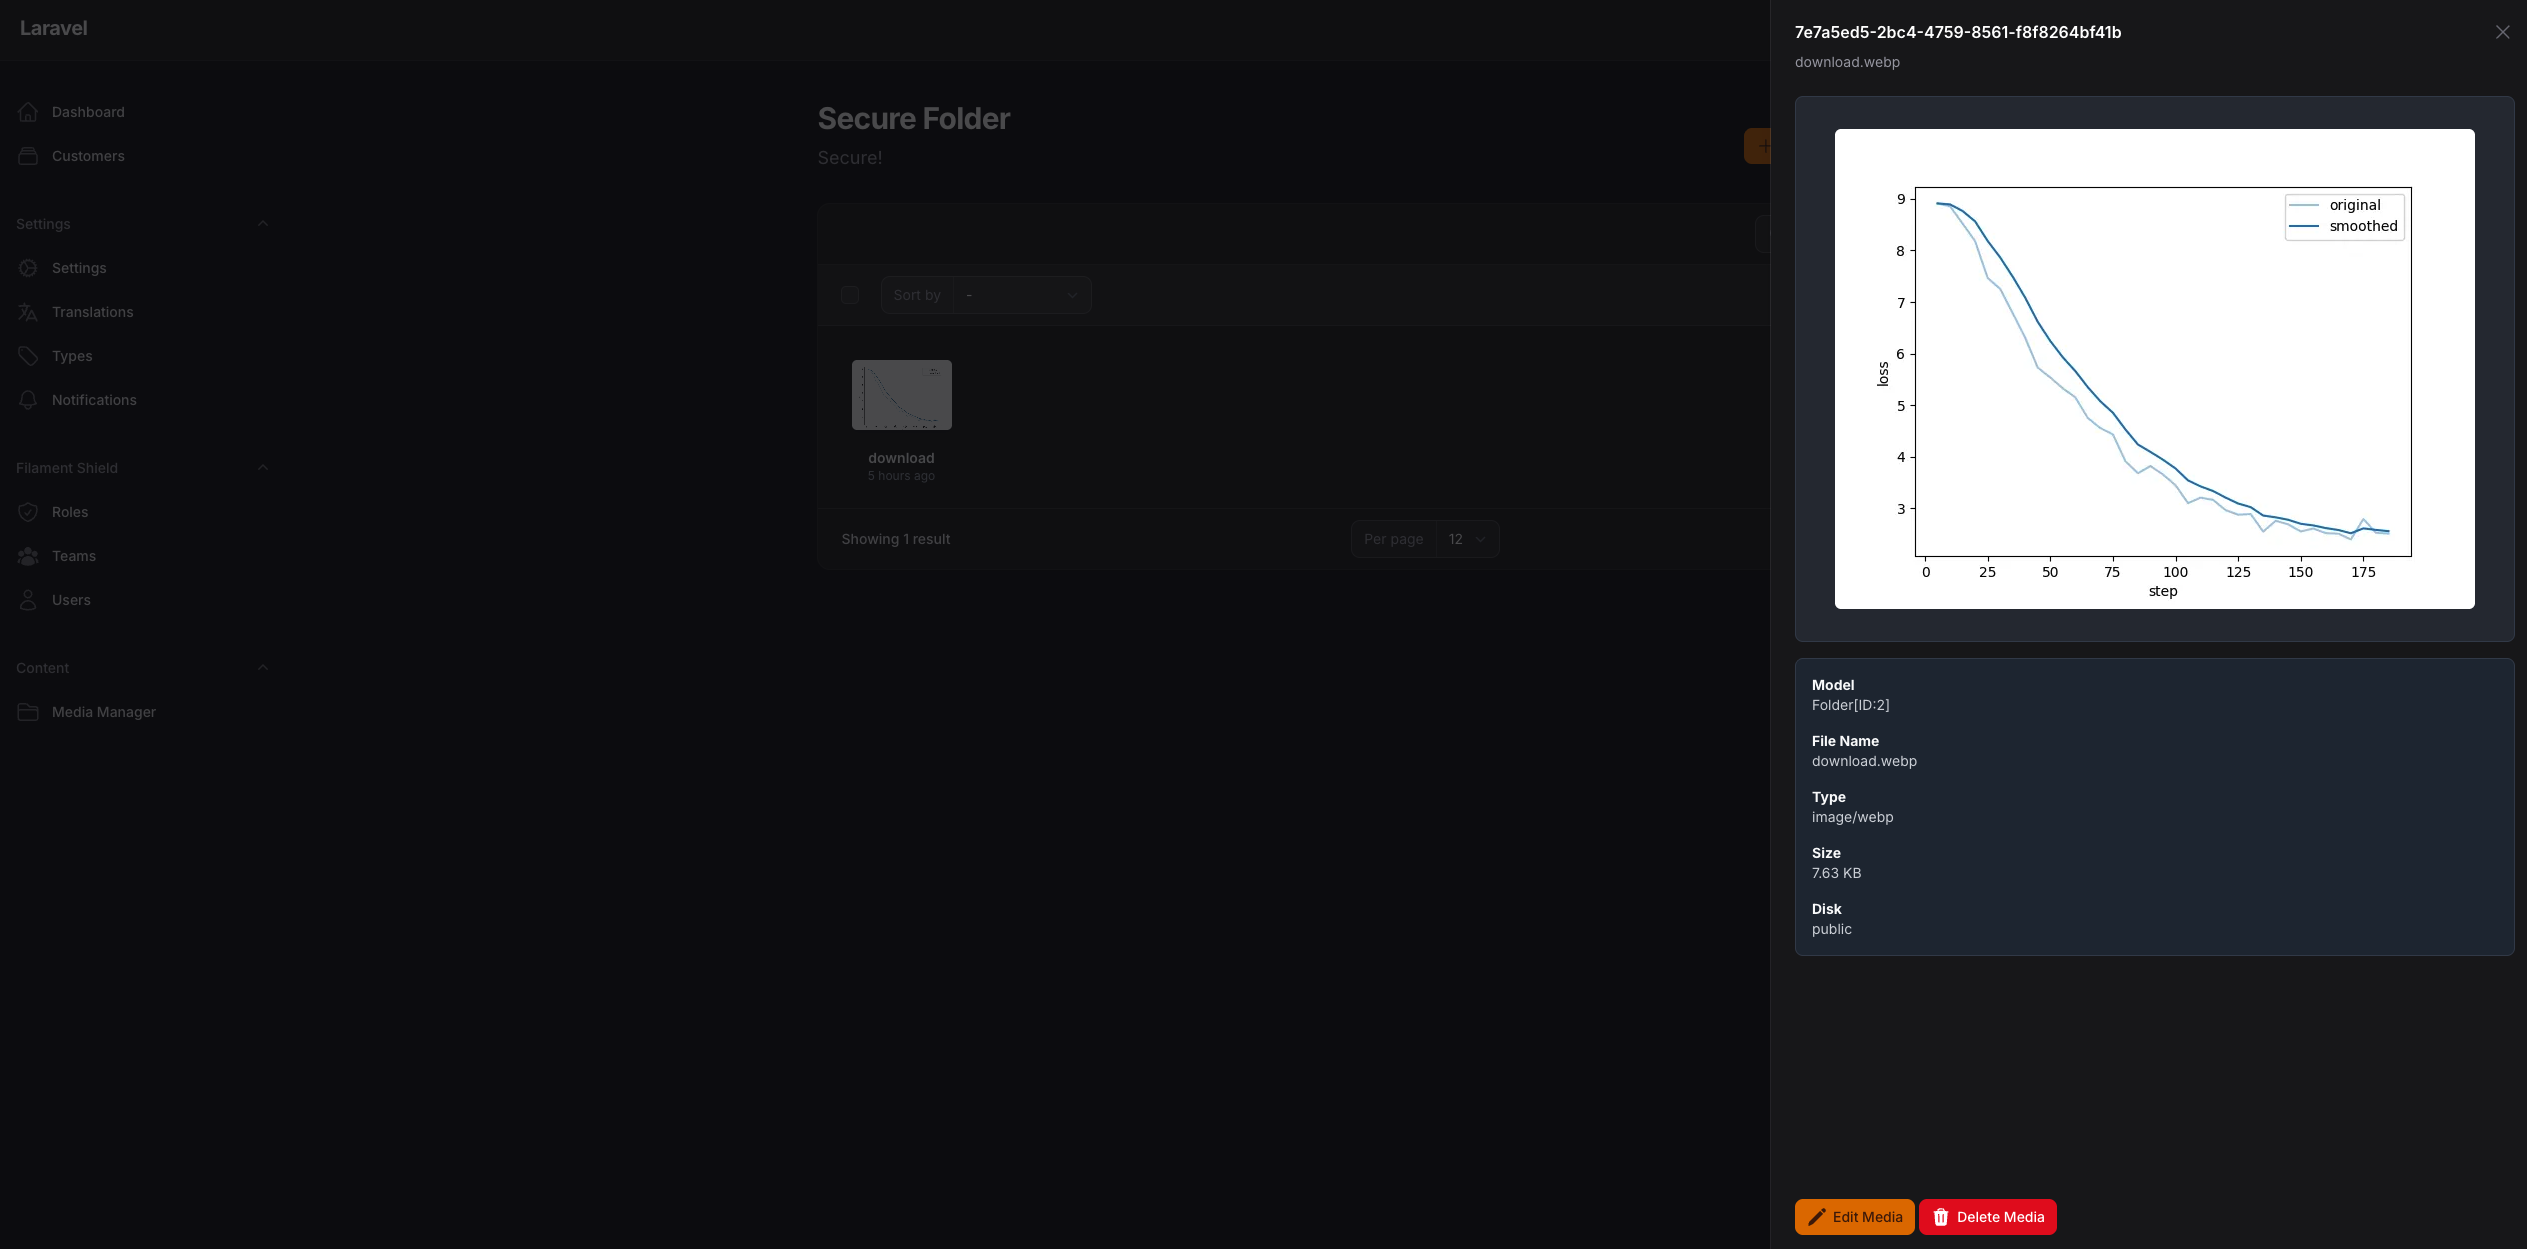
![]()
![]()
![]()
Manage your media files using spatie media library with easy to use GUI for FilamentPHP
Installation
composer require tomatophp/filament-media-manager
now you need to publish media migration
php artisan vendor:publish --provider="Spatie\MediaLibrary\MediaLibraryServiceProvider" --tag="medialibrary-migrations"
after installing your package, please run this command
php artisan filament-media-manager:install
finally, register the plugin on /app/Providers/Filament/AdminPanelProvider.php, if you like to use GUI and Folder Browser.
->plugin(
    \TomatoPHP\FilamentMediaManager\FilamentMediaManagerPlugin::make()
        ->allowSubFolders()
        ->navigationGroup()
        ->navigationIcon()
        ->navigationLabel()
)
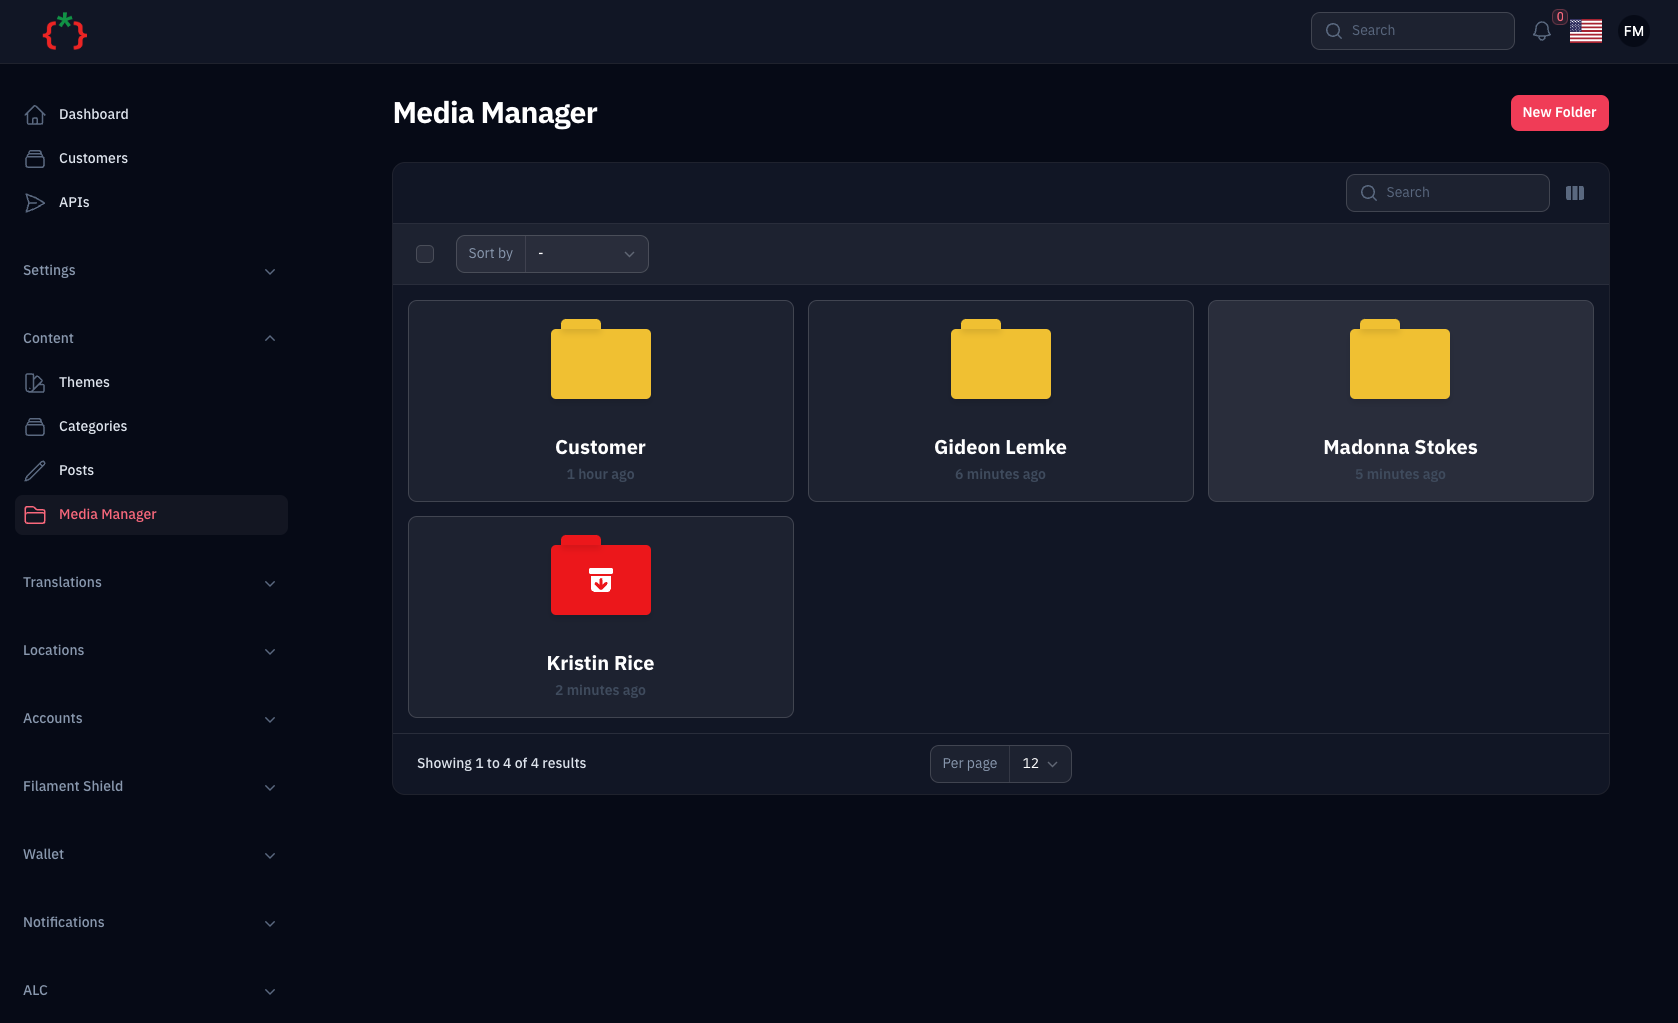
Features
- 📁 Manage your media files using spatie media library
- 📂 Create folders and subfolders
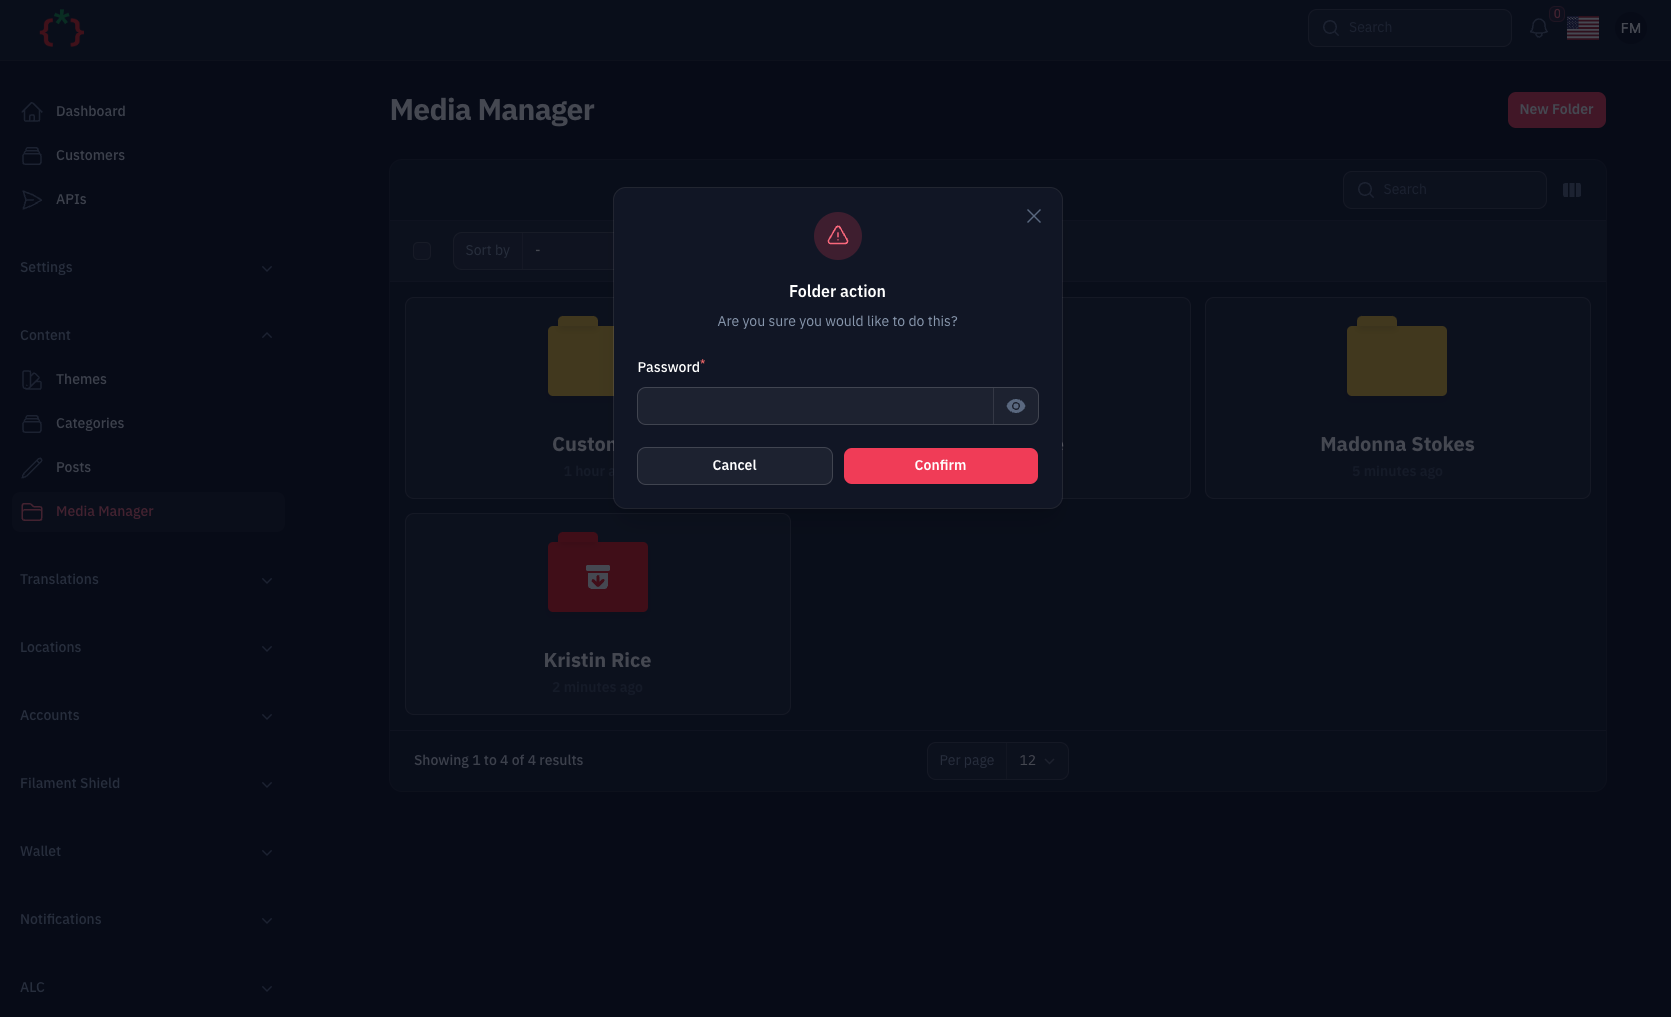
- 🔒 Set password for folders with secure access
- 📝 Upload Files with Custom Fields using
->schema() - 🤖 Auto Create Folders for Model/Collection/Record
- 🌍 RTL/Multi Language Support
- 🎨 Full Dark Mode Support
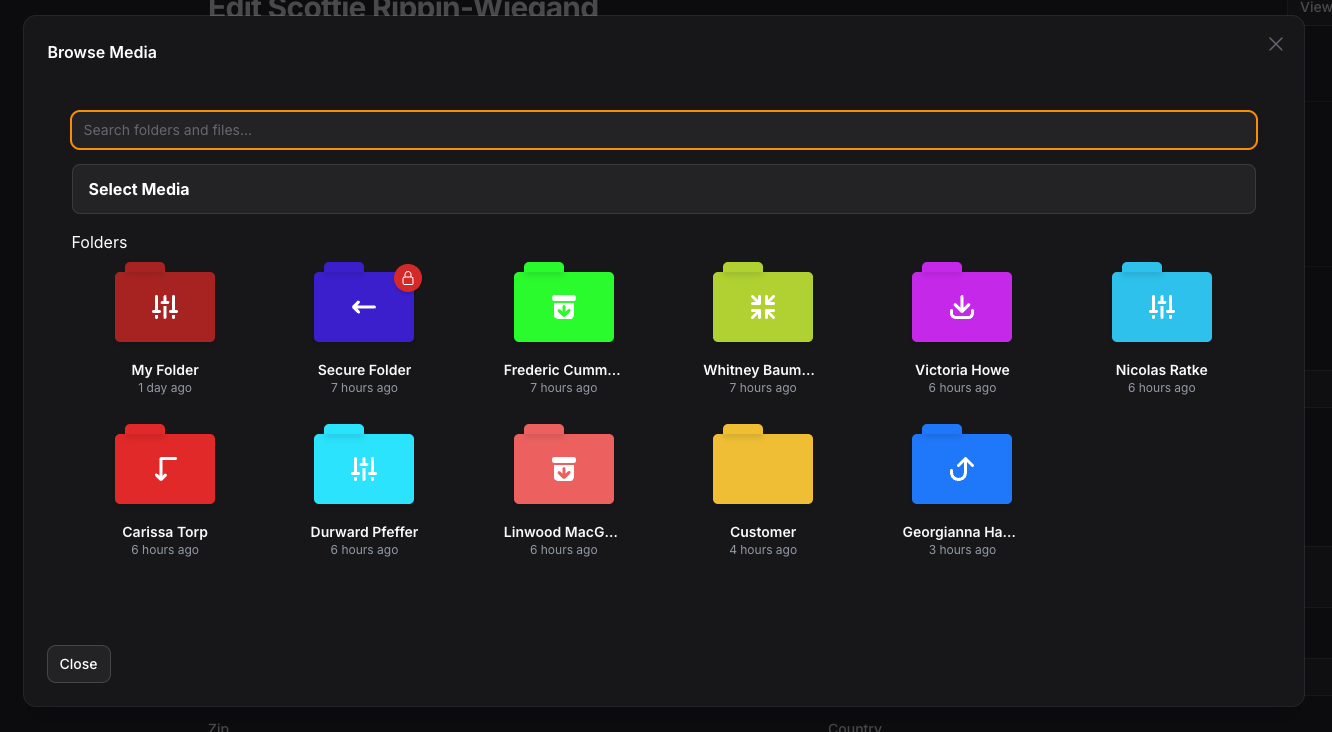
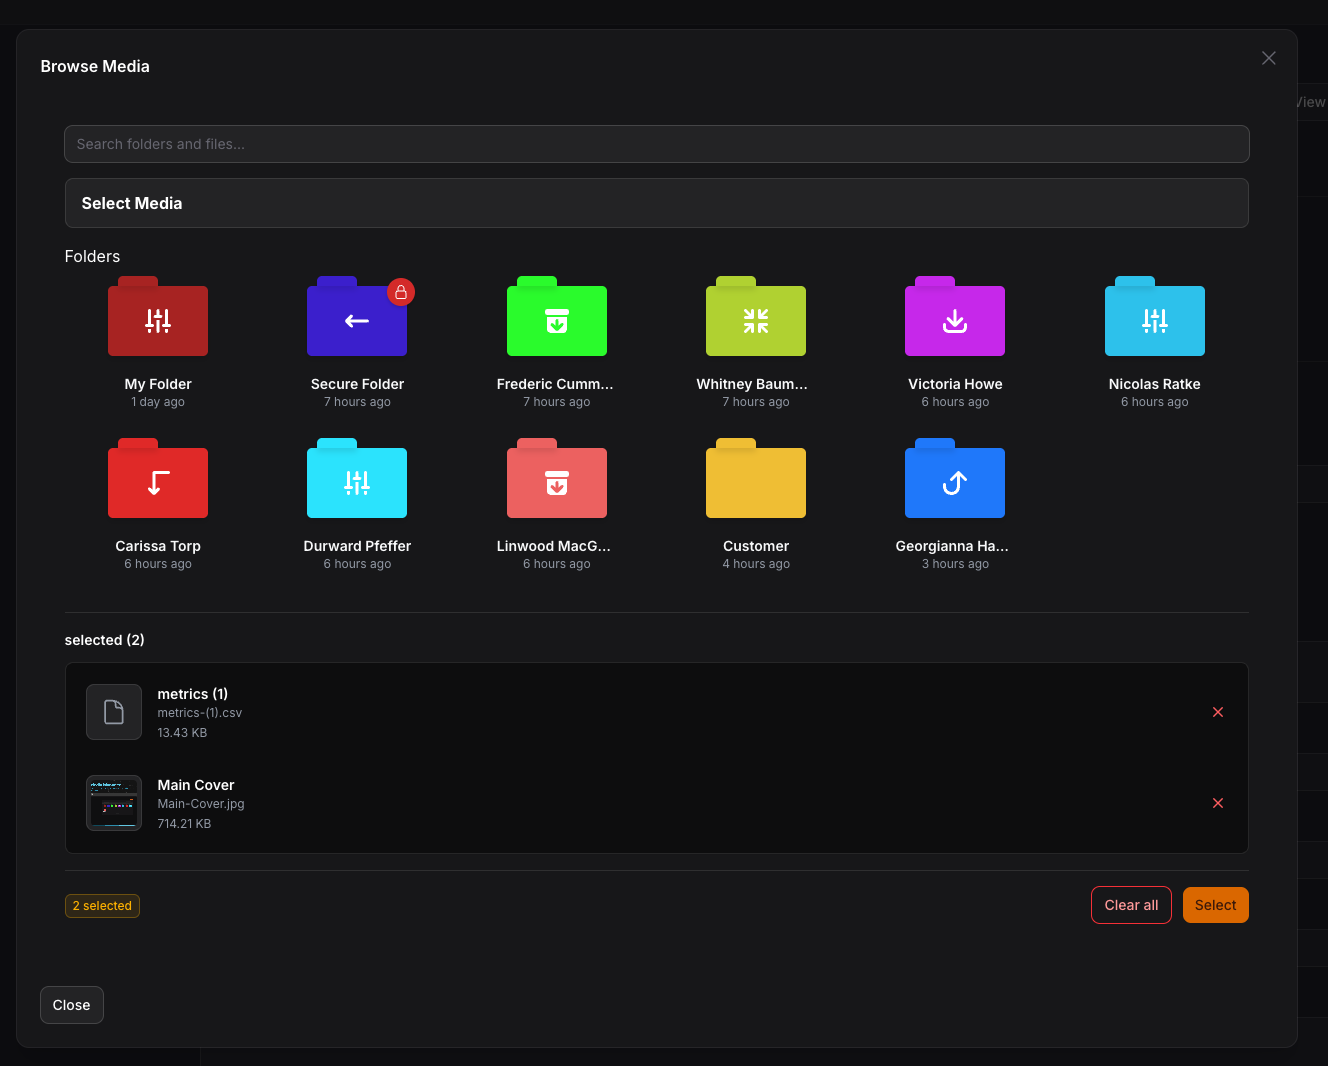
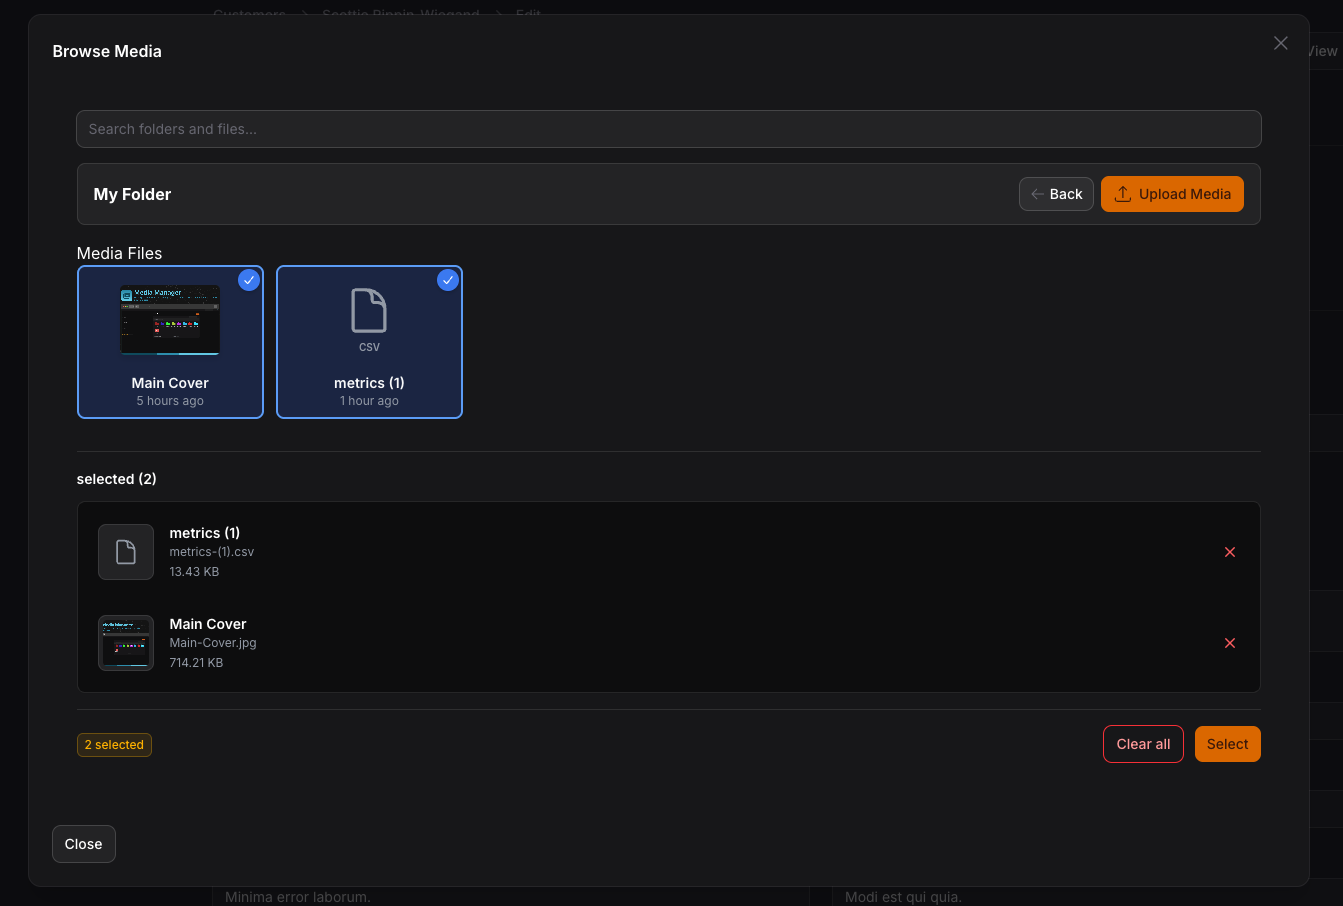
- 🖼️ MediaManagerPicker - Browse and select media from folder structure
- ⚡ MediaManagerInput - Direct file upload with Spatie Media Library
- 🔧 InteractsWithMediaManager Trait - Easy model integration
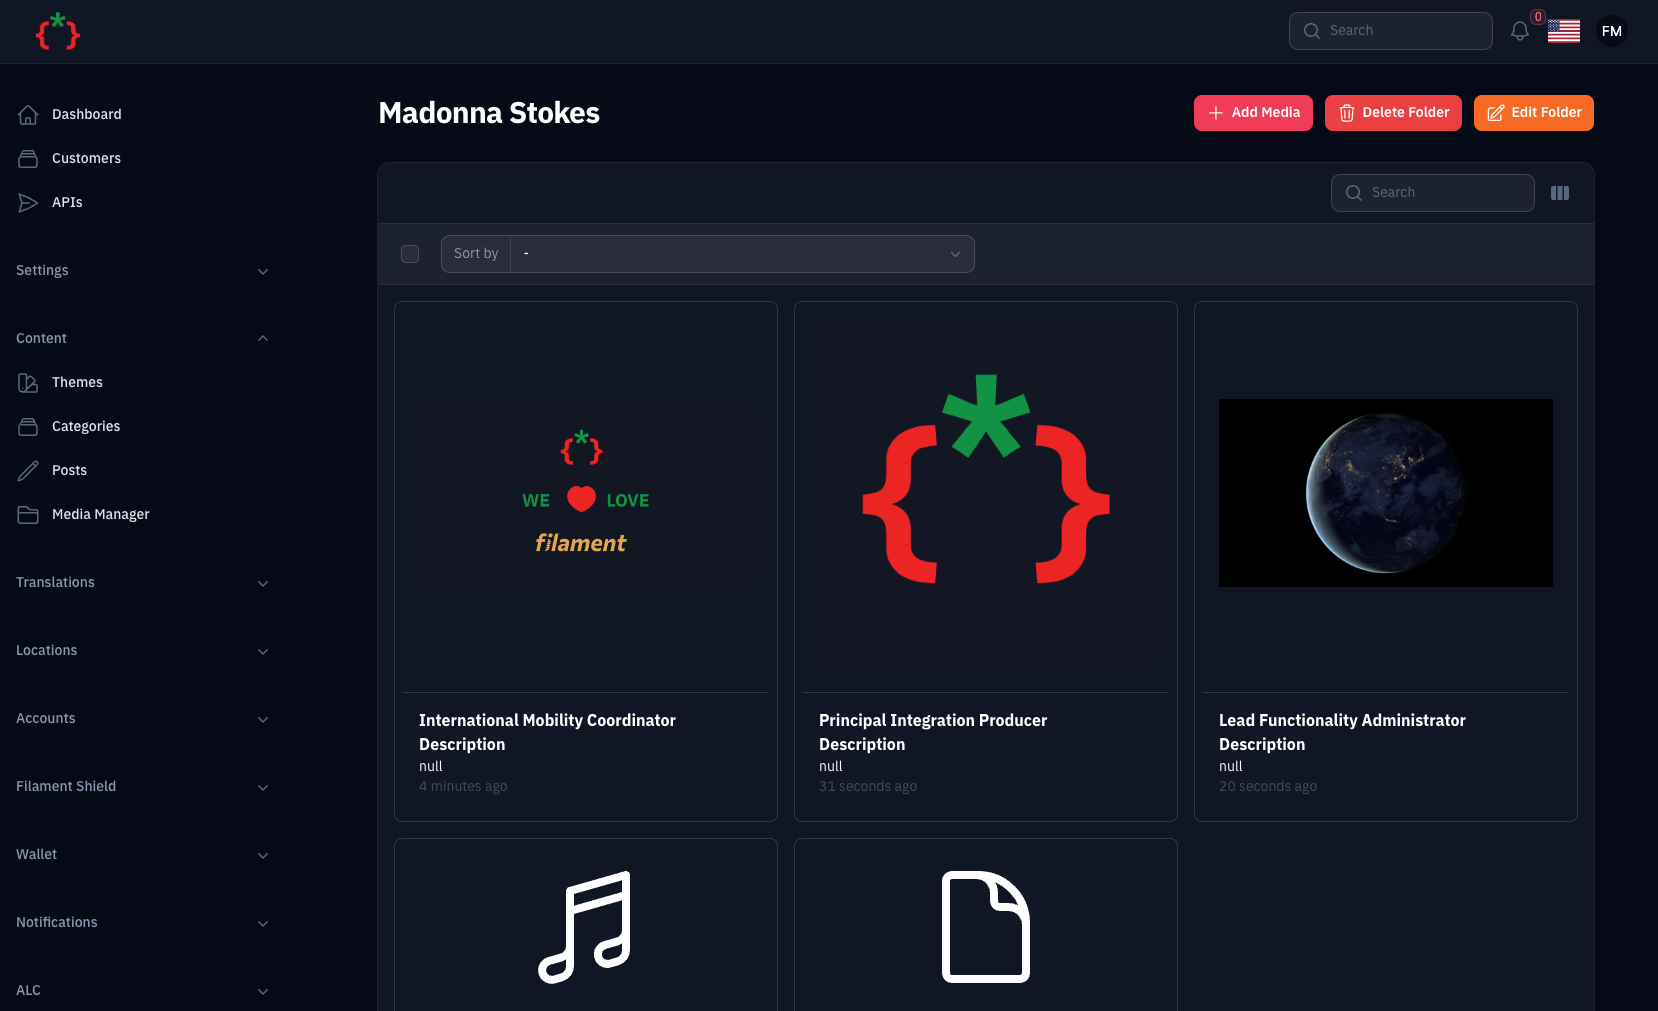
- 📊 Live Preview with thumbnails and file information
- ✅ Selection validation (min/max items)
- 🔄 Auto-save and modal management
- 🏷️ Collection Names - Multiple pickers on same page with separate collections
- 📱 Responsive Images - Automatic responsive image generation with Spatie
- 🎯 Drag & Drop Reordering - Visual reordering of selected media
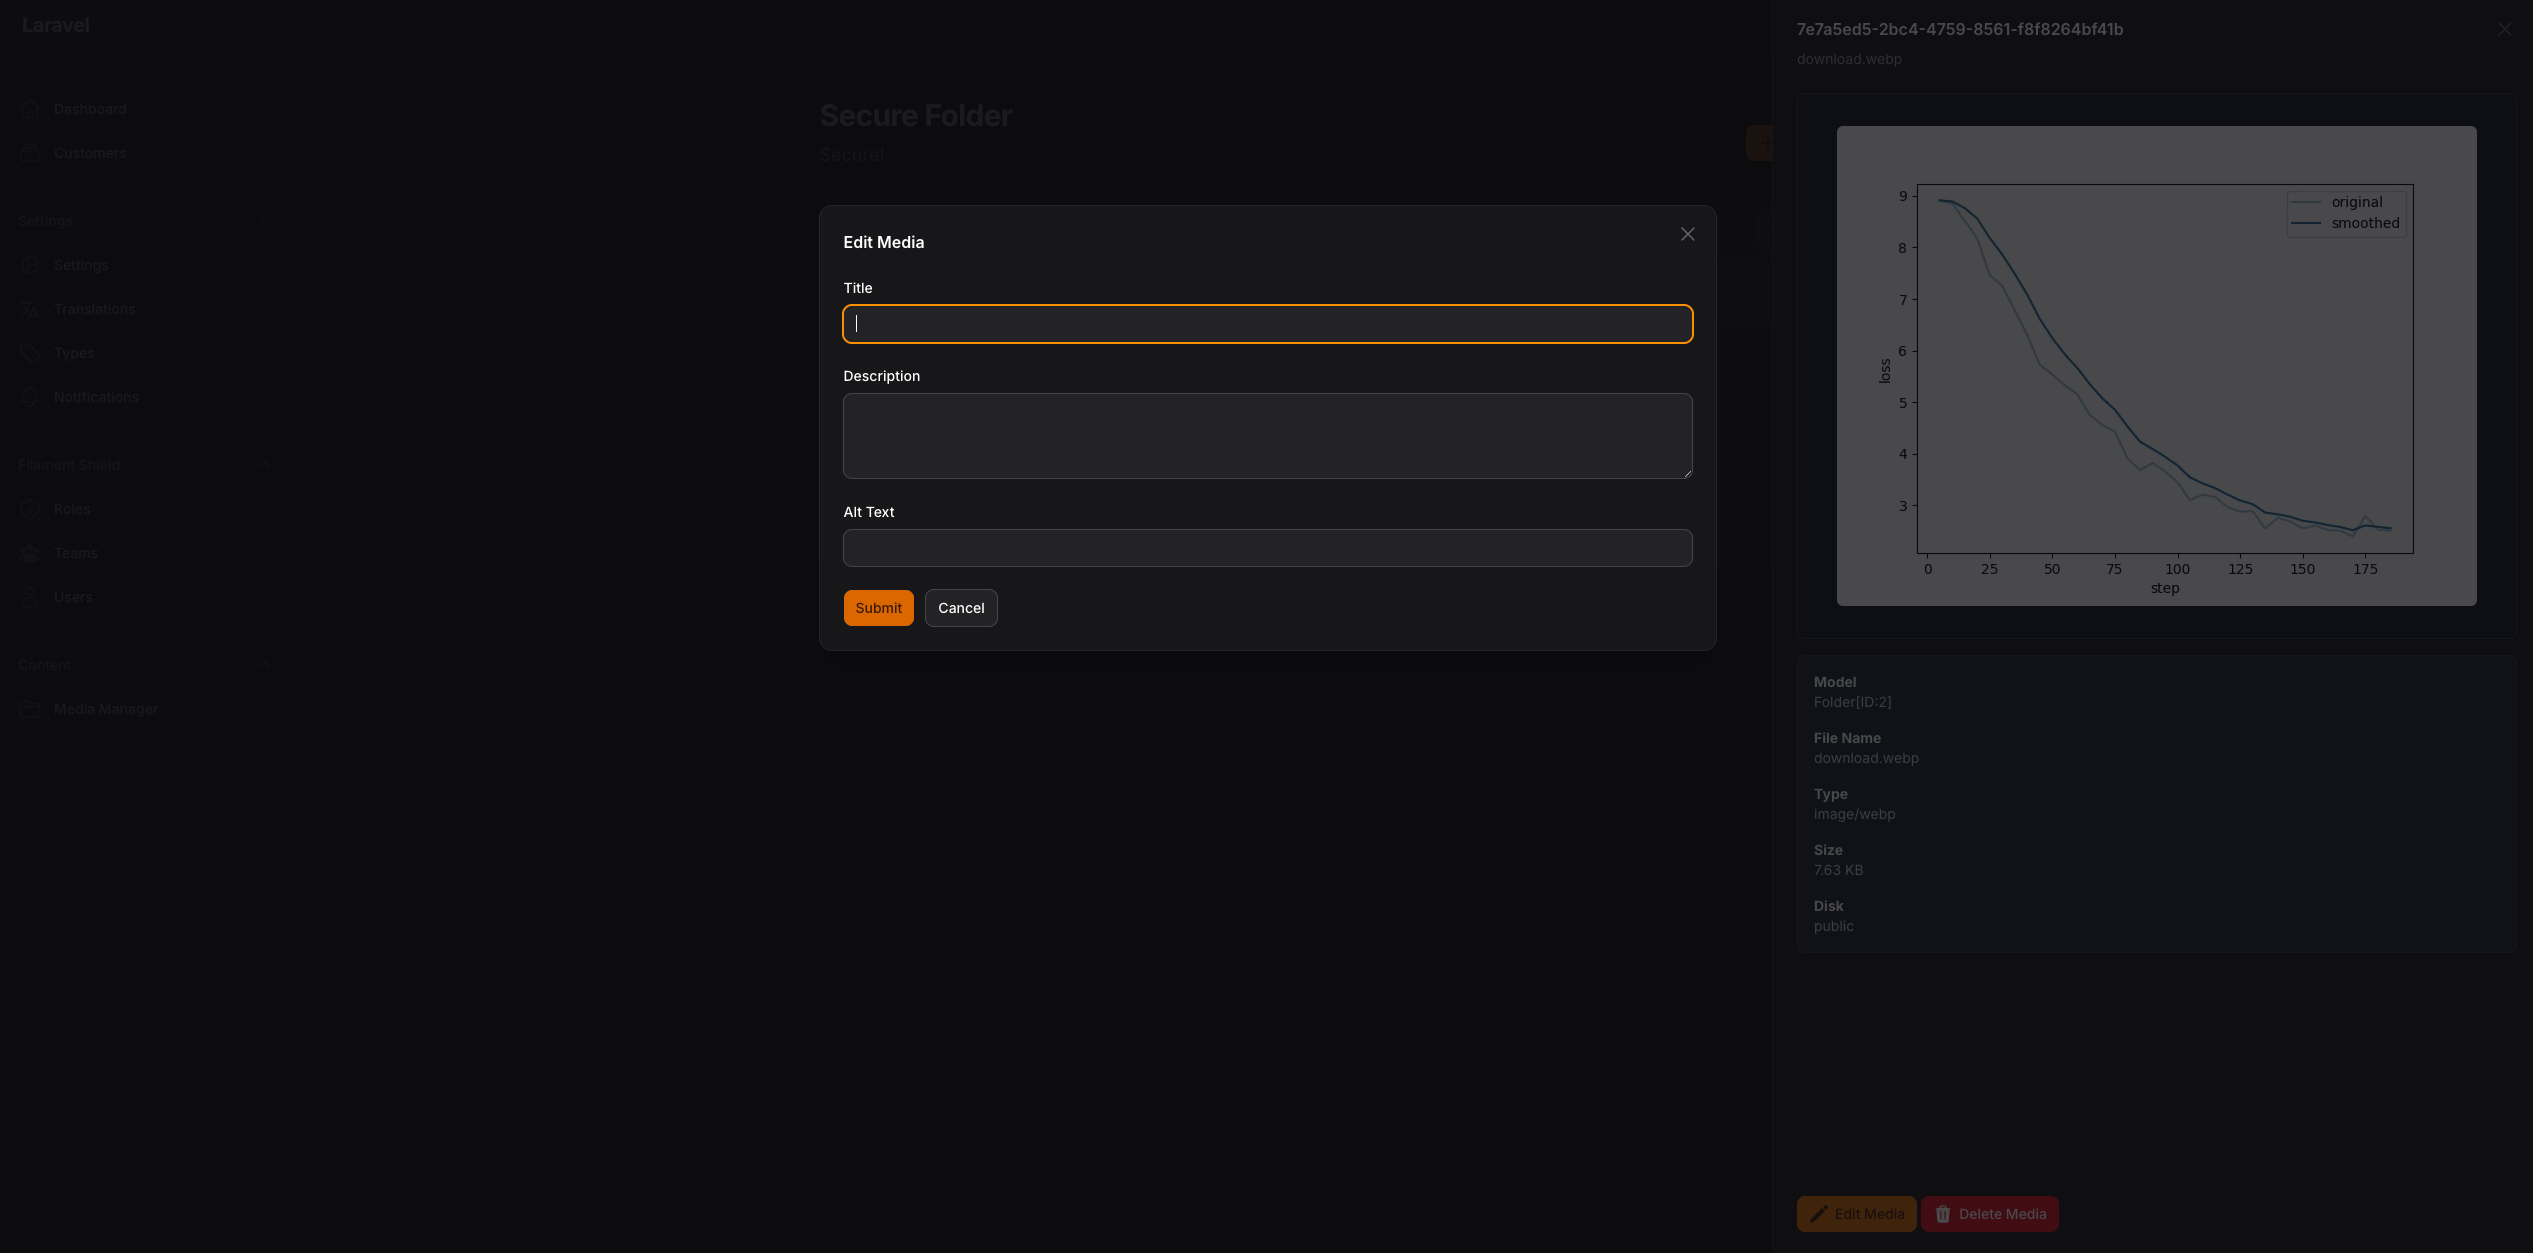
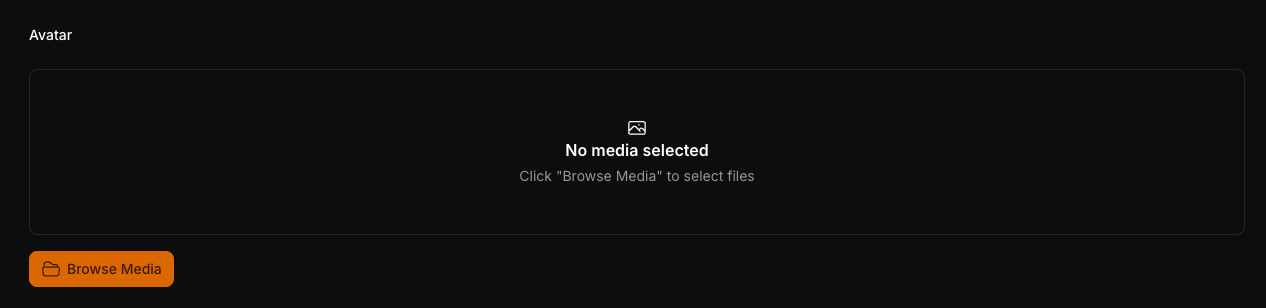
Screenshots


Usage
you can use the media manager by adding this code to your filament component
use TomatoPHP\FilamentMediaManager\Form\MediaManagerInput;

public function form(Schema $schema): Schema
{
    return $schema->components([
        MediaManagerInput::make('images')
            ->disk('public')
            ->schema([
                Forms\Components\TextInput::make('title')
                    ->required()
                    ->maxLength(255),
                Forms\Components\TextInput::make('description')
                    ->required()
                    ->maxLength(255),
            ]),
    ]);
}
or you can use Media Library Picker like this
use TomatoPHP\FilamentMediaManager\Form\MediaManagerPicker;

public function form(Schema $schema): Schema
{
    return $schema->components([
         MediaManagerPicker::make('media')
          ->multiple() // or ->single() (default is multiple)
          ->maxItems(5) // Maximum number of items that can be selected
          ->minItems(2) // Minimum number of items required
          ->collection('products') // Separate collection for this picker
          ->responsiveImages() // Enable responsive images generation
    ]);
}
and on your model to manage your attached media
use TomatoPHP\FilamentMediaManager\Traits\InteractsWithMediaManager;

class Model extends Authenticatable {
    use InteractsWithMediaManager;
}
MediaManagerPicker Features
- Multiple/Single Selection: Use
->multiple()or->single()to control selection mode - Item Limits: Set
->maxItems(n)and->minItems(n)to enforce selection constraints - Collection Names: Use
->collection('name')to separate media for different pickers on the same page - Responsive Images: Use
->responsiveImages()to automatically generate responsive images with Spatie - Drag & Drop Reordering: Visually reorder selected media items with drag handles
- Password Protected Folders: Browse secure folders with password verification
- Live Preview: See selected items with preview thumbnails, file info, and remove buttons
- Dark Mode Support: Fully styled for both light and dark themes
- Auto-close Modal: Modal automatically closes after selection with success notification
Multiple Pickers with Collections
You can use multiple MediaManagerPicker components on the same page by using collection names:
use TomatoPHP\FilamentMediaManager\Form\MediaManagerPicker;

public function form(Schema $schema): Schema
{
    return $schema->components([
        // Featured image picker
        MediaManagerPicker::make('featured_image')
            ->collection('featured')
            ->single()
            ->label('Featured Image'),

        // Gallery picker
        MediaManagerPicker::make('gallery_images')
            ->collection('gallery')
            ->multiple()
            ->maxItems(10)
            ->label('Gallery'),

        // Attachments picker with responsive images
        MediaManagerPicker::make('hero_image')
            ->collection('hero')
            ->single()
            ->responsiveImages()
            ->label('Hero Image'),
    ]);
}
Each picker maintains its own separate media attachments based on the collection name.
Working with Media in Models
InteractsWithMediaManager Trait
Use the InteractsWithMediaManager trait in your models to easily access and manage media attached via MediaManagerPicker:
use TomatoPHP\FilamentMediaManager\Traits\InteractsWithMediaManager;

class Product extends Model
{
    use InteractsWithMediaManager;
}
Available Methods
// Get all media attached via MediaManagerPicker
$product->getMediaManagerMedia(); // All media
$product->getMediaManagerMedia('featured'); // From specific collection

// Get media by UUIDs
$product->getMediaManagerMediaByUuids(['uuid-1', 'uuid-2']);

// Get media from Spatie collection (MediaManagerInput)
$product->getMediaManagerInputMedia('images');

// Attach media programmatically
$product->attachMediaManagerMedia(['uuid-1', 'uuid-2']); // To default collection
$product->attachMediaManagerMedia(['uuid-1', 'uuid-2'], 'gallery'); // To specific collection

// Detach media
$product->detachMediaManagerMedia(['uuid-1']); // Detach specific from default
$product->detachMediaManagerMedia(['uuid-1'], 'gallery'); // From specific collection
$product->detachMediaManagerMedia(null, 'gallery'); // Detach all from collection

// Sync media (replace all with new)
$product->syncMediaManagerMedia(['uuid-3', 'uuid-4']); // Default collection
$product->syncMediaManagerMedia(['uuid-3', 'uuid-4'], 'gallery'); // Specific collection

// Check if media exists
$product->hasMediaManagerMedia('uuid-1'); // In default collection
$product->hasMediaManagerMedia('uuid-1', 'featured'); // In specific collection

// Get first media item
$product->getFirstMediaManagerMedia(); // From default
$product->getFirstMediaManagerMedia('featured'); // From collection

// Get media URL
$product->getMediaManagerUrl(); // First from default collection
$product->getMediaManagerUrl('featured'); // First from featured collection

// Get all media URLs
$product->getMediaManagerUrls(); // All from default
$product->getMediaManagerUrls('gallery'); // All from gallery collection

// Responsive Images Methods
$product->getMediaManagerResponsiveImages('hero'); // Get responsive data
$product->getMediaManagerSrcset('hero'); // Get srcset for first media
$product->getMediaManagerSrcsets('gallery'); // Get all srcsets
$product->getMediaManagerResponsiveUrls('hero'); // Get responsive URLs for first
$product->getAllMediaManagerResponsiveUrls('gallery'); // Get all responsive URLs
Usage Examples
// In your blade template - Basic usage
@php
    $product = App\Models\Product::find(1);
    $images = $product->getMediaManagerMedia('gallery');
@endphp

<div class="product-gallery">
    @foreach($images as $image)
        <img src="{{ $image->getUrl('thumb') }}" alt="{{ $image->name }}">
    @endforeach
</div>

// Get featured image from specific collection
@php
    $featuredUrl = $product->getMediaManagerUrl('featured') ?? '/default-image.png';
@endphp

<img src="{{ $featuredUrl }}" alt="Featured Image">

// Responsive Images with srcset
@php
    $heroSrcset = $product->getMediaManagerSrcset('hero');
    $heroUrl = $product->getMediaManagerUrl('hero');
@endphp

<img src="{{ $heroUrl }}"
     srcset="{{ $heroSrcset }}"
     sizes="(max-width: 768px) 100vw, 50vw"
     alt="Hero Image">

// Gallery with responsive images
@foreach($product->getMediaManagerResponsiveImages('gallery') as $item)
    <img src="{{ $item['url'] }}"
         srcset="{{ $item['srcset'] }}"
         alt="Gallery Image">
@endforeach

// Get user avatar from specific collection
@php
    $avatarUrl = auth()->user()->getMediaManagerUrl('avatar') ?? '/default-avatar.png';
@endphp

<img src="{{ $avatarUrl }}" alt="User Avatar">
For complete documentation of the trait, see TRAITS.md.
Important: Run Migrations
After installing or updating the package, make sure to run migrations to add the required database columns:
php artisan migrate
This will add the following columns to the media_has_models table:
order_column- For drag & drop reordering functionalitycollection_name- For multiple pickers with separate collectionsresponsive_images- For responsive images support
Add Custom Preview to selected type on the media manager
you can add custom preview to selected type on the media manager by add this code to your provider
use TomatoPHP\FilamentMediaManager\Facade\FilamentMediaManager;
use TomatoPHP\FilamentMediaManager\Services\Contracts\MediaManagerType;


public function boot() {
     FilamentMediaManager::register([
        MediaManagerType::make('.pdf')
            ->icon('bxs-file-pdf')
            ->preview('media-manager.pdf'),
    ]);
}
in your view file you can use it like this
<div class="m-4">
    <canvas id="the-canvas"></canvas>
</div>

<script src="//mozilla.github.io/pdf.js/build/pdf.mjs" type="module"></script>

<style type="text/css">
    #the-canvas {
        border: 1px solid black;
        direction: ltr;
    }
</style>
<script type="module">
    // If absolute URL from the remote server is provided, configure the CORS
    // header on that server.
    var url = "{{ $media->getUrl() }}";

    // Loaded via <script> tag, create shortcut to access PDF.js exports.
    var { pdfjsLib } = globalThis;

    // The workerSrc property shall be specified.
    pdfjsLib.GlobalWorkerOptions.workerSrc = '//mozilla.github.io/pdf.js/build/pdf.worker.mjs';

    // Asynchronous download of PDF
    var loadingTask = pdfjsLib.getDocument(url);
    loadingTask.promise.then(function(pdf) {

        // Fetch the first page
        var pageNumber = 1;
        pdf.getPage(pageNumber).then(function(page) {
            var scale = 1;
            var viewport = page.getViewport({scale: scale});

            // Prepare canvas using PDF page dimensions
            var canvas = document.getElementById('the-canvas');
            var context = canvas.getContext('2d');
            canvas.height = viewport.height;
            canvas.width = viewport.width;

            // Render PDF page into canvas context
            var renderContext = {
                canvasContext: context,
                viewport: viewport
            };
            var renderTask = page.render(renderContext);
        });
    }, function (reason) {
        // PDF loading error
        console.error(reason);
    });
</script>
you can attach global js or css file to the media manager by add this code to your provider
use TomatoPHP\FilamentMediaManager\Facade\FilamentMediaManager;
use TomatoPHP\FilamentMediaManager\Services\Contracts\MediaManagerType;


public function boot() {
     FilamentMediaManager::register([
        MediaManagerType::make('.pdf')
            ->js('https://mozilla.github.io/pdf.js/build/pdf.mjs'),
            ->css('https://cdnjs.cloudflare.com/ajax/libs/pdf.js/4.3.136/pdf_viewer.min.css'),
            ->icon('bxs-file-pdf')
            ->preview('media-manager.pdf'),
    ]);
}
please note that the name of the component will be the same name of the collection.
Allow Sub Folders
you can allow create and manage subfolders on your media manager on /app/Providers/Filament/AdminPanelProvider.php
->plugins([
    \TomatoPHP\FilamentMediaManager\FilamentMediaManagerPlugin::make()
        ->allowSubFolders()
])
Allow User Access
now you can allow user to access selected folder and restract user to access each other folders if the folder is not public on /app/Providers/Filament/AdminPanelProvider.php
->plugin(
    \TomatoPHP\FilamentMediaManager\FilamentMediaManagerPlugin::make()
        ->allowUserAccess()
)
now on your user model you can use this trait to allow user to access selected folder
use TomatoPHP\FilamentMediaManager\Traits\InteractsWithMediaFolders;

class User extends Authenticatable
{
    use InteractsWithMediaFolders;
}
NOTE don't forget to migrate after update the plugin
Folders API
now you can access your media and folders using API you have 2 endpoints
/api/foldersto get all folders/api/folders/{id}to get folder by id with sub folders and media files
to allow this feature, you need to publish the config file by use this command
php artisan vendor:publish --tag="filament-media-manager-config"
then you can set api.active to true on the config file
'api' => [
    "active" => true,
],
Publish Assets
you can publish config file by use this command
php artisan vendor:publish --tag="filament-media-manager-config"
you can publish a view file by using this command
php artisan vendor:publish --tag="filament-media-manager-views"
you can publish a language file by using this command
php artisan vendor:publish --tag="filament-media-manager-lang"
you can publish the migrations file by using this command
php artisan vendor:publish --tag="filament-media-manager-migrations"
Testing
This package includes comprehensive test suites for all major features. Tests are written using Pest PHP.
Running Tests
Run all tests:
composer test
Run a specific test file:
./vendor/bin/pest tests/src/MediaManagerPickerTest.php
Run with coverage:
./vendor/bin/pest --coverage
Test Coverage
The test suite includes:
- MediaManagerPickerTest - Tests for MediaManagerPicker component, folder navigation, password protection, selection validation, and file upload
- MediaManagerInputTest - Tests for MediaManagerInput component, file upload, media retrieval, deletion, and custom schema
- InteractsWithMediaManagerTest - Tests for the trait methods including attach, detach, sync, and URL generation
For detailed testing documentation, see tests/README.md
Code Style
if you like to fix the code style, just use this command
composer format
PHPStan
if you like to check the code by PHPStan just use this command
composer analyse
Other Filament Packages
Check out our Awesome TomatoPHP